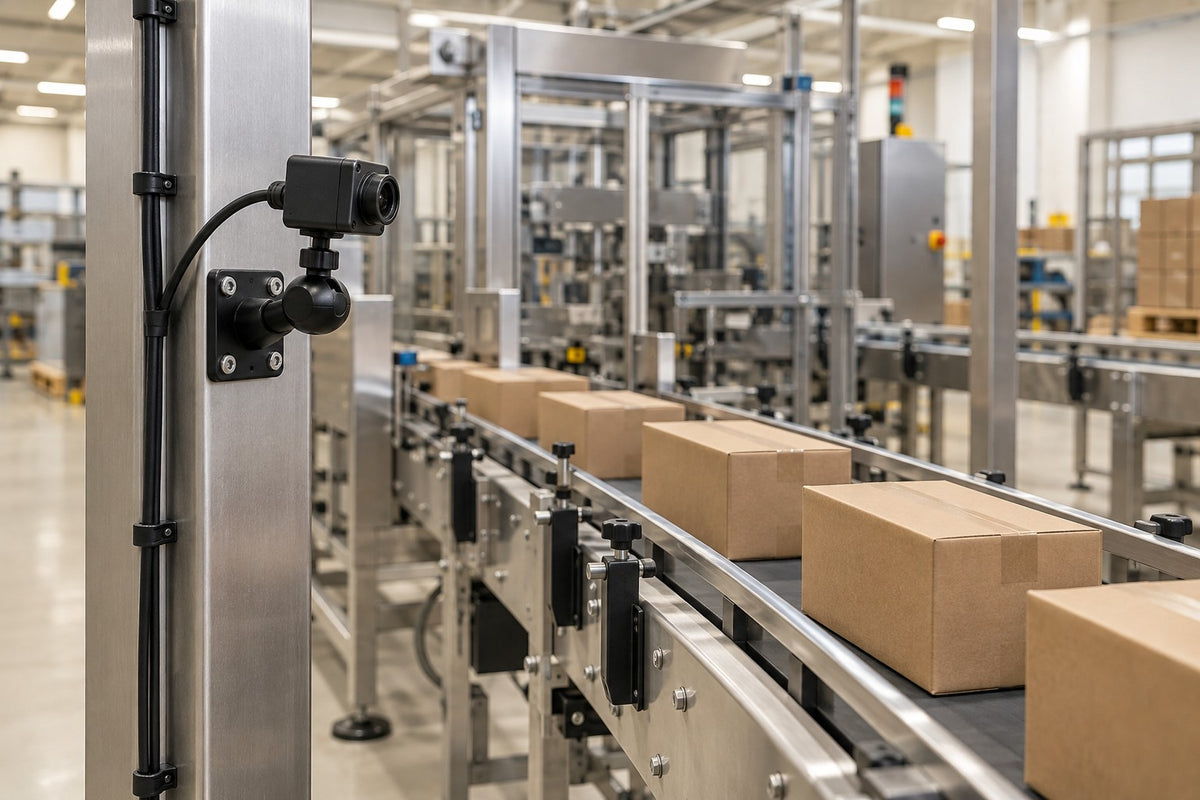

At a sealed-carton checkpoint, glare or an operator's hand can hide the exact code a reviewer needs to see. Food processing camera mounts, camera position and lighting all shape whether the footage answers the intended question.
This guide covers dry secondary packaging and sealed-package observation outside the food path, in locations your facility has reviewed and approved. iBOLT supplies the mounting hardware; the camera, computing and software are separate selections.
Start With the Job: Video Review, Dataset Collection or Live Analysis
Three workflows often get grouped together as "AI video review," and each asks something different of the camera position.
Video auditing or coaching. People review clips against a defined checklist, and AI may help pick out events worth watching. One approach uses computer vision to flag events, then human auditors evaluate additional criteria. Reviewing footage this way is not automatically model training.
Dataset collection. Authorized footage is selected, labeled and split for model development or evaluation. For AI camera data collection in food processing, a recorded camera position makes each capture session easier to interpret, though the dataset still needs representative variation across products, shifts and lighting.
Operational analysis. A deployed model examines new frames. Change the viewpoint, and the model may need revalidation.
A facility may define review criteria for sanitation, hygiene, visible foreign objects, biosecurity procedures, or quality checks.
Whichever workflow fits, define the exact process step, where it starts and ends, and the detail a reviewer needs to see. For food packaging video review, that might be a sealed carton entering the case packer with its printed code facing the lens.
Where Food Processing Camera Mounts Belong (and Where They Don't)
This guide considers facility-approved dry packaging areas outside the food path: sealed-carton transfers, case packing and packaging checkpoints where product is already enclosed. Hardware should never sit above exposed product. Wet processing, washdown zones and direct food-contact areas fall outside the recommended use.
Even in a dry area, food processing camera mounting starts with facility approval. The federal equipment rule, 21 CFR 117.40, addresses cleanability and installation access, including for equipment that doesn't touch food. Before anyone selects an iBOLT base, ask your food-safety and engineering team to approve:
- The exact location and surface material
- Cleaning access around the mount
- The cable route
- Possible condensation
A camera enclosure's ingress rating doesn't also rate the mount, joints, cables or fasteners. Confirm cleaning-chemical compatibility through the product documentation, and keep every mount clear of walkways, access panels and machine guarding.
Matching the Mount to the Camera: 1/4-20, AMPS Pattern and Ball Size
Mechanical fit comes down to four checks, in this order:
- Confirm the camera-side interface. Many cameras and accessories use a 1/4-20 threaded socket, but not all do. Check your camera's documentation before ordering a 1/4-20 camera mount. Cameras are not included with any mount below.
- Check the base. The rectangular four-hole AMPS pattern measures roughly 30 x 38 mm. Measure actual hole spacing rather than judging from a photo, and confirm orientation before drilling.
- Stay within one ball size. A 25mm B-size ball (1 inch) and a 38mm C-size ball (1.5 inch) are not interchangeable. Two parts that share an AMPS pattern can still use different ball sizes.
- Treat the load as one question. The camera, any accessories and the pull of the cable all act on the mount together.
Three iBOLT configurations show the range of options on the camera side:
- IBAMPS-34207, the iBOLT 38mm / 1.5 inch Metal AMPS to 1/4-20 Camera Screw Mount, is a 38mm camera mount on the C-size system. It pairs a rectangular metal AMPS ball base with a 3.5-inch composite Bizmount dual-ball arm and a 1/4-20 camera adapter. Arm length isn't the same as stand-off, so verify camera clearance on site.
- IBDY-34339, the iBOLT 1/4-20 Camera Screw IncrediBOLT AMPS Single Socket Drill Base Mount, is a compact composite AMPS camera mount with a 25mm B-size interface, an Octo collar and a rectangular AMPS plate. Check assembled clearance for the intended position.
- IBCM-34608, the iBOLT 1/4-20 Camera Screw Bizmount Suction Cup Mount, combines an 80 mm reusable suction base with a 3.75-inch composite dual-ball arm, 360-degree adjustment and a 25mm B-size interface. It's listed for small to medium cameras. Treat it as a supervised, removable pilot option on a smooth, clean, nonporous surface, and check retention in your actual environment.
These options cover the camera side. Mount a separate edge computer using its manufacturer-approved method, with clearance for cooling, ports and service.
Testing the View at a Packaging Checkpoint
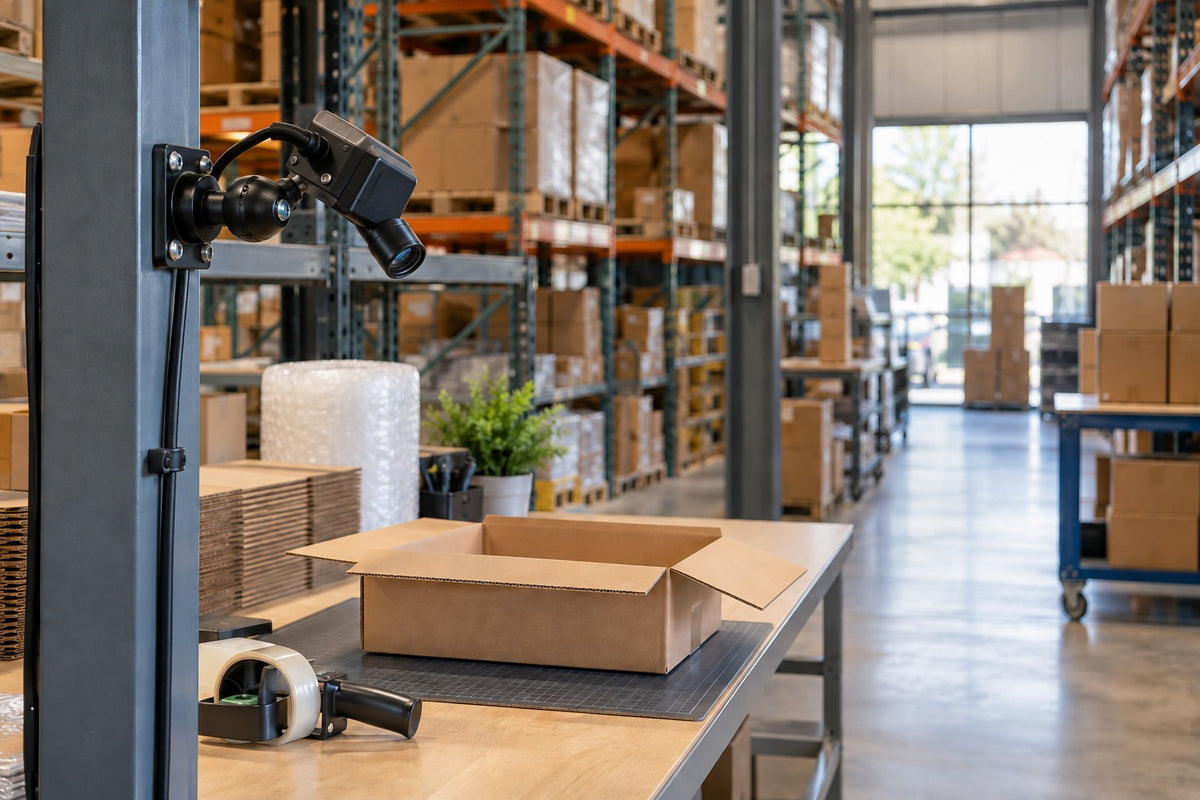
Run your camera test during a real production cycle, not just on an empty station, and check for:
- Glare on shrink film, labels and glossy cartons
- Codes or labels hidden by hands or neighboring packages
- Condensation on the camera enclosure
- Framing that holds up as lighting changes through the shift
- A region of interest that stays fully inside the frame
IBAMPS-34207 and IBCM-34608 use dual-ball arrangements; IBDY-34339 uses a single socket. Check each assembled configuration for the required view and clearance.
After tightening the mount, save a reference frame and record the camera ID, date, lens and settings, station and mount configuration. Recheck the view after scheduled cleaning, an authorized relocation or any impact. Document deliberate view changes so different views don't silently mix into one dataset. With the facility team's approval, route cables away from walkways and cleaning paths.
Plan Who Sees the Footage and What It Becomes
A mount doesn't decide what happens to the recording. NIST's AI Risk Management Framework FAQs describe reliability, security, privacy and accountability as concerns across the whole AI lifecycle. Treat that as a planning reminder, not a compliance guarantee. Before capture begins, settle:
- The purpose of capture, plus authorization and any required notice
- Who can access clips
- Retention and deletion schedules
- Whether clips may become AI training data
- How to keep unrelated people and information out of the frame
- Who handles human review of uncertain labels or model flags
Keep captured footage, reviewer findings and verified process outcomes separate. Video by itself doesn't verify sanitation or prevent contamination.
Compare the iBOLT Mounts
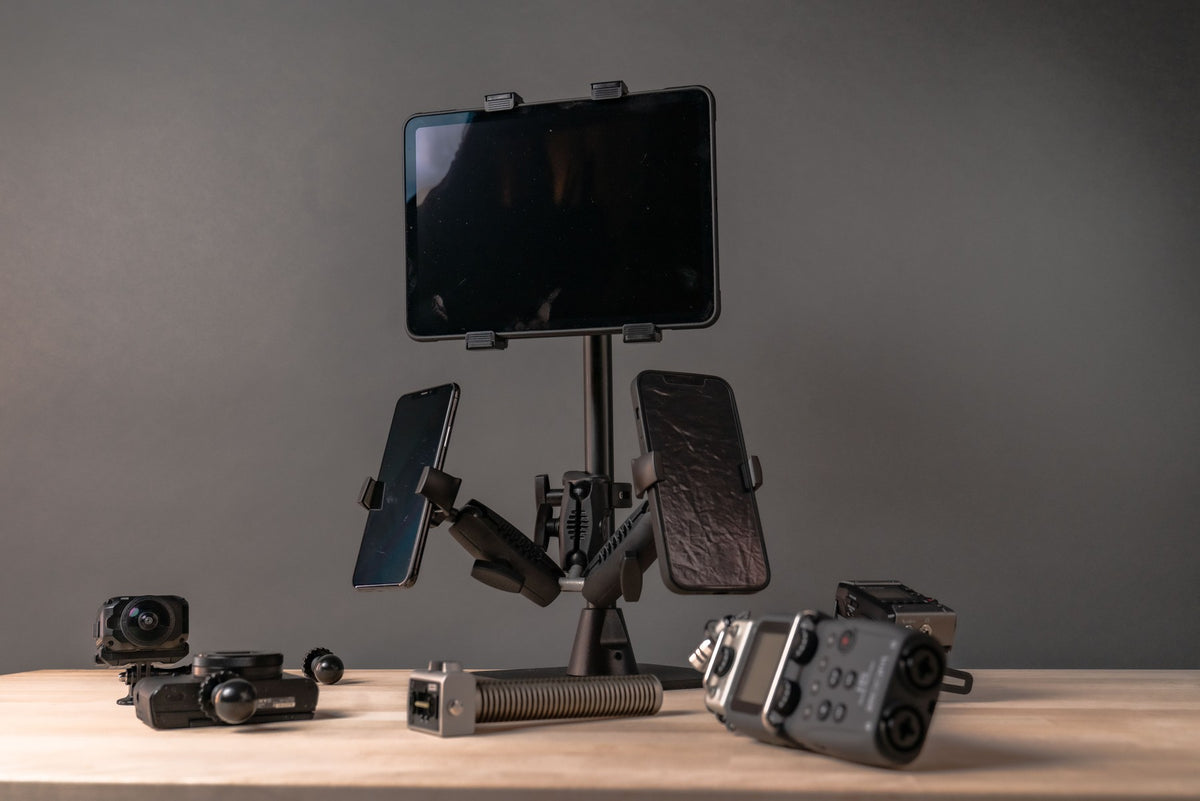
Original catalog photographs. Cameras are not included. Select a product for current specifications and pricing.
 38mm AMPS camera mount · 3.5-inch arm
 25mm IncrediBOLT AMPS camera mount
 25mm Bizmount suction camera mount
Frequently Asked Questions
Does a camera mount need review if it never touches food?
Yes. Placement, cleanability and access still matter for hardware that never contacts product, and 21 CFR 117.40 addresses these points for food facility equipment. Ask your food-safety or engineering team to assess the intended location.
Are these iBOLT camera mounts food safe or washdown rated?
No such rating is documented in the reviewed specifications. Have the facility assess any proposed dry-area installation outside the food path; do not treat these products as food-contact or washdown-rated equipment.
Can the camera come down for cleaning and go back up?
Yes, but only within an approved installation and cleaning procedure. Save a reference frame before removal and recheck the view after every reinstall. For removable pilots, the IBCM-34608 suction cup mount is one option; evaluate how well it holds on your actual surface.
Can routine plant video become AI training data?
Only after you confirm permitted uses and document the data workflow. Training footage should be authorized, relevant to the defined task and reviewed before labeling.
Choosing Your Camera Mount Setup
Good food processing camera mounts follow a simple order: define the job, get facility approval for the location, confirm your camera's interface and the mount's ball size, then test the view and document it. Explore the linked iBOLT options and confirm the complete setup for your packaging checkpoint.

Leave a comment
This site is protected by hCaptcha and the hCaptcha Privacy Policy and Terms of Service apply.