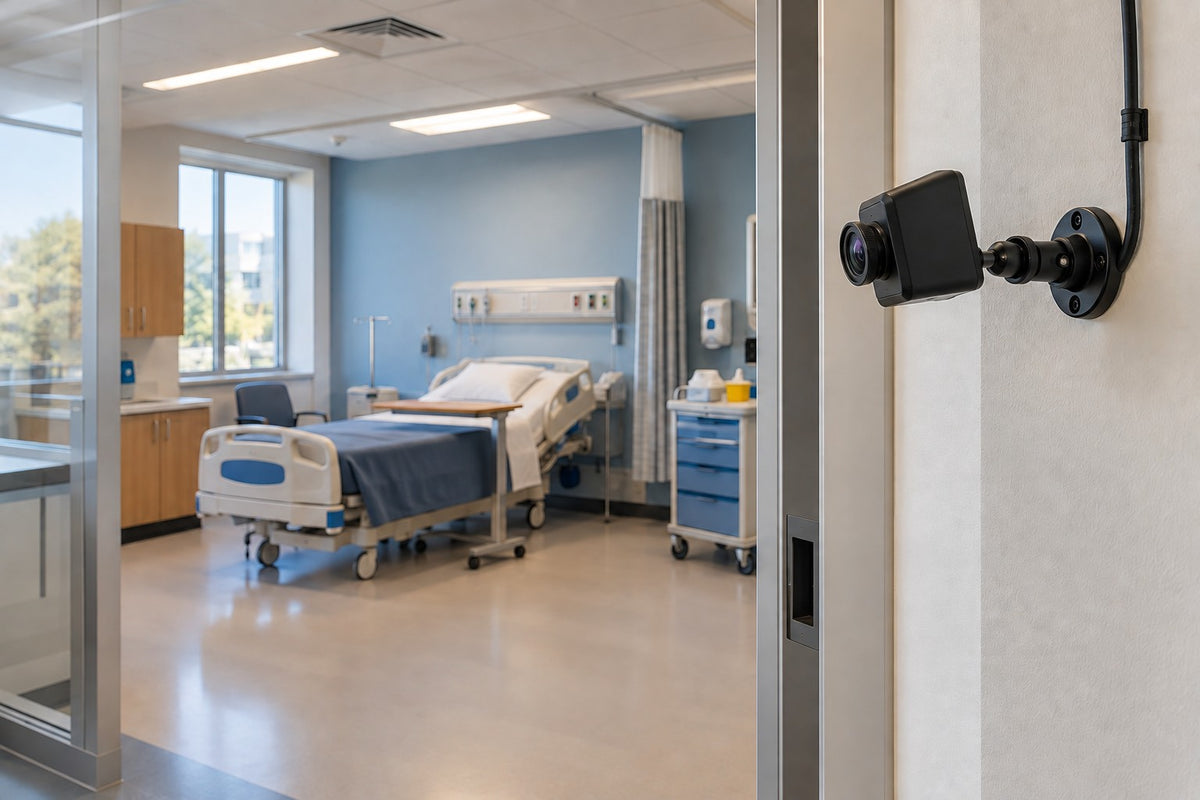

You're standing in an empty simulation room, or beside an approved workflow station, holding a camera, a coil of cable, and one nagging question: where does this go so the footage is actually useful? Choosing healthcare camera mounts feels like the easy part until a slightly wrong angle hides the exact task you need to see.
This guide covers camera placement for workflow video auditing and authorized AI data collection. It walks through defining the view, checking occlusion, framing with privacy in mind, and planning cleaning access. It doesn't address diagnosis or clinical outcomes. One boundary up front: iBOLT makes the mounting hardware only. We don't supply cameras, compute, AI software, or prequalified kits.
Video Auditing, AI Review, and AI Training Are Different Jobs
Camera projects often blend four activities that are easy to confuse:
- Video collection. This means capturing footage of a defined workflow. Recording alone doesn't create a training dataset.
- Video auditing and feedback. People review footage against set criteria and share findings with staff. Potential workflow-review subjects include hand hygiene, PPE, room cleaning, endoscope reprocessing, and operating room workflow timing.
- AI inference with human review. An existing model analyzes new footage, and people review the detections or exceptions it flags.
- AI training and evaluation. For supervised video models, training uses approved, labeled examples, with separate data reserved for evaluation. The facility's authorization determines whether any footage can be reused this way.
Whichever job applies, the mount does one thing: it positions and holds the camera. Labeling, model training, and privacy decisions happen elsewhere.
Plan the View: Framing, Occlusion, Detail, and Lighting
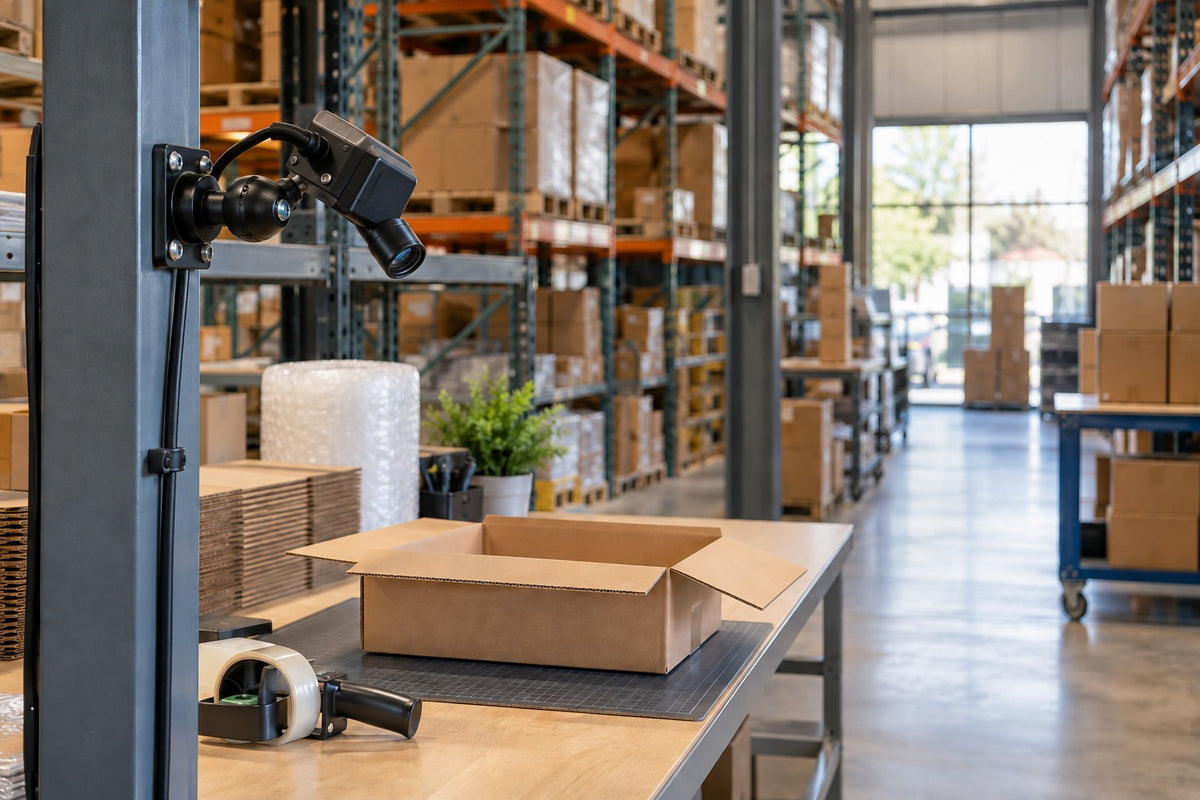
Start with the question that reviewers or a model need answered. A whole-room overview of a simulation space calls for different framing than a close view of a multi-step task at a workstation. Axis makes a similar point in its Quality with a purpose white paper: the intended use should shape what the image needs to deliver.
Next, run a realistic walkthrough. Open doors, carts, equipment, and people can hide the target at exactly the wrong moment. Test the actual activity from the proposed angle instead of judging an empty room.
Once the angle works, save a reference frame and check that normal activity does not shift the view.
Resolution alone won't tell you whether a hand movement or tool is visible. The same Axis white paper points to field of view and pixels on the target. It also recommends meeting your analytics provider's requirements and testing on site. Review sample clips from different shifts for glare and motion blur, too. The mount aims and holds the camera, while exposure, lens, and model choices are separate decisions.
Privacy-Aware Framing and Cleaning Access
Two more constraints shape placement.
Privacy. Aim at the authorized task and keep patient faces, charts, wristbands, displays, and other identifiers out of the shot. Tight framing reduces what you collect, but it doesn't make footage de-identified. HHS de-identification guidance lists full-face and comparable images among many Safe Harbor identifiers, so blurring a face alone isn't enough. Your facility's privacy team decides what can be collected, accessed, retained, and reused. No mechanical mount can establish HIPAA compliance.
Cleaning access. Add the mount and camera to the facility's cleaning plan, and place them where environmental services staff and technicians can reach them. CDC environmental infection control guidance emphasizes following manufacturer care instructions and checking that cleaning products are compatible with the surfaces involved. Confirm material and disinfectant compatibility with each manufacturer and your facility staff before installation.
How to Choose Healthcare Camera Mounts for a Fixed View
Work through the hardware decisions in order:
- Confirm the approved location. All three examples below use a rectangular AMPS base with a 30 x 38 mm four-hole pattern. Confirm the approved surface and fastening method with your facility before installation.
- Identify the camera's actual interface. Not every camera has a 1/4-20 thread. Direct attachment requires a matching 1/4-20 socket; a documented compatible adapter may offer another route.
- Count the complete load. The camera, its accessories, and the cable together make up the load. The reviewed specifications for these products don't list a confirmed payload rating, so verify the full setup before installation.
- Match ball size and arm. A shared AMPS hole pattern doesn't make 25mm B-size and 38mm C-size parts interchangeable. Ball and socket sizes must match across the assembly.
Here are three iBOLT options to compare. Cameras are not included.
- iBOLT 38mm Metal AMPS to 1/4-20 Camera Screw Mount, 3.5-inch arm (IBAMPS-34207): This is a 38mm C-size setup with a metal rectangular AMPS ball base, a 3.5-inch composite Bizmount arm, and a 1/4-20 camera adapter.
- iBOLT 38mm Metal AMPS to 1/4-20 Camera Screw Mount, 5.75-inch arm (IBAMPS-34226): This uses the same base and adapter arrangement with a 5.75-inch composite Bizmount arm for additional reach.
- iBOLT 1/4-20 Camera Screw IncrediBOLT AMPS Single Socket Drill Base Mount (IBDY-34339): This is a short, single-socket layout on a 25mm B-size interface. It includes an Octo collar, a composite arm, a rectangular AMPS plate, and a composite 1/4-20 camera screw adapter.
Arm length isn't the same as stand-off or camera clearance, so check the assembled position at the actual install spot. If an edge computer is involved, use its exact finished enclosure and the manufacturer-approved mounting method. Plan for full load, heat, ports, and service access. The mounts above cover the camera side only.
Keep the View Consistent After Installation
After the camera is aimed and approved, save a reference frame. Note the camera's location, height, orientation, and configuration. After cleaning, service, or an accidental bump, compare the live view to that baseline.
If a camera moves to a new angle, height, or room, log the move as a change to the data itself. For model-development projects, those acquisition and site notes tell the data team what changed and when.
Finally, keep people in the loop. In healthcare video auditing, confirm that clips reach the intended reviewers and that everyone applies the same audit criteria and label definitions.
Compare the iBOLT Mounts
Original catalog photographs. Cameras are not included. Select a product for current specifications and pricing.
 38mm AMPS camera mount · 3.5-inch arm
 25mm IncrediBOLT AMPS camera mount
 38mm AMPS camera mount · 5.75-inch arm
Frequently Asked Questions
What is the difference between video auditing and AI training?
Video auditing means reviewing footage against defined criteria and sharing findings with the people doing the work. Supervised video-model training uses approved, labeled examples, with separate data held back for evaluation. Facility authorization controls whether recorded clips can be reused for training at all.
Is a 1/4-20 camera mount automatically compatible with my camera?
No. A 1/4-20 camera mount matches one thread. You also need to confirm your camera's actual interface, the full load including accessories and cable, matching ball sizes across the assembly, and clearance at the mounting spot.
Does blurring patient faces make footage anonymous?
Not by itself. Charts, wristbands, screens, and room context can still identify someone, and HHS guidance covers far more than faces. Take questions about your specific workflow to the facility's privacy team.
What should a team check after moving a camera?
Compare the new view to the saved reference frame. Then recheck coverage, visible detail where the task happens, privacy masks, and recording availability. Rerun any relevant analytics evaluation too, because a new angle can change results.
Conclusion: Plan the View, Then Pick the Mount
Healthcare camera mounts work best when the view comes first. Define the task, test for occlusion and lighting, frame out identifiers, and plan cleaning access. Then match the interface, ball size, and complete load to your camera, accessories, and cable. Check out the full lineup of camera mounts at iBOLT and see which one works best for your setup.

Leave a comment
This site is protected by hCaptcha and the hCaptcha Privacy Policy and Terms of Service apply.