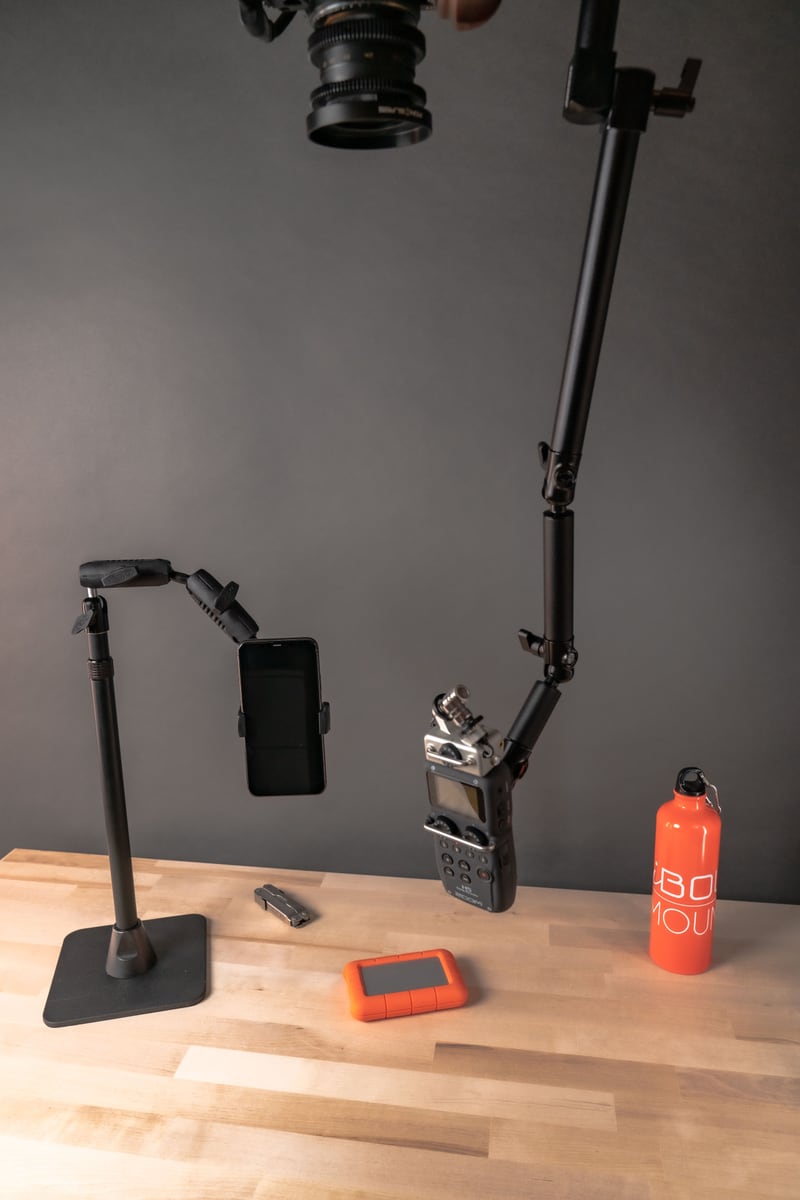
Content creators, photographers, educators, and live streamers all run into the same problem eventually: they need a camera positioned above or in front of a desk, and a tripod either eats up floor space or can't get the right angle. A table camera mount solves this by clamping directly to the work surface and holding the camera in a fixed, repeatable position for recording, streaming, or photography.

This guide covers how these mounts work, what actually affects stability and image quality, and what to check before buying one so it fits your desk, your camera, and your workflow.

What a Table Camera Mount Does
A table camera mount is a clamp-based support system that attaches to the edge of a desk, table, or workbench and extends a camera into position above or in front of the work area. Instead of a tripod taking up floor space and requiring its own footprint to stay balanced, the mount uses the desk itself as the base.
Most systems use adjustable arms, a telescoping pole, or a combination of both, ending in a standard 1/4"-20 camera thread. That thread size is the reason these mounts work with such a wide range of gear: DSLR and mirrorless cameras, webcams, smartphone clamps, small LED lights, and even compact projectors can all attach through the same connection point or a compatible adapter.
Overhead vs Front-Facing: Picking Your Configuration
Before buying, decide which angle you actually need, because it changes what features matter.
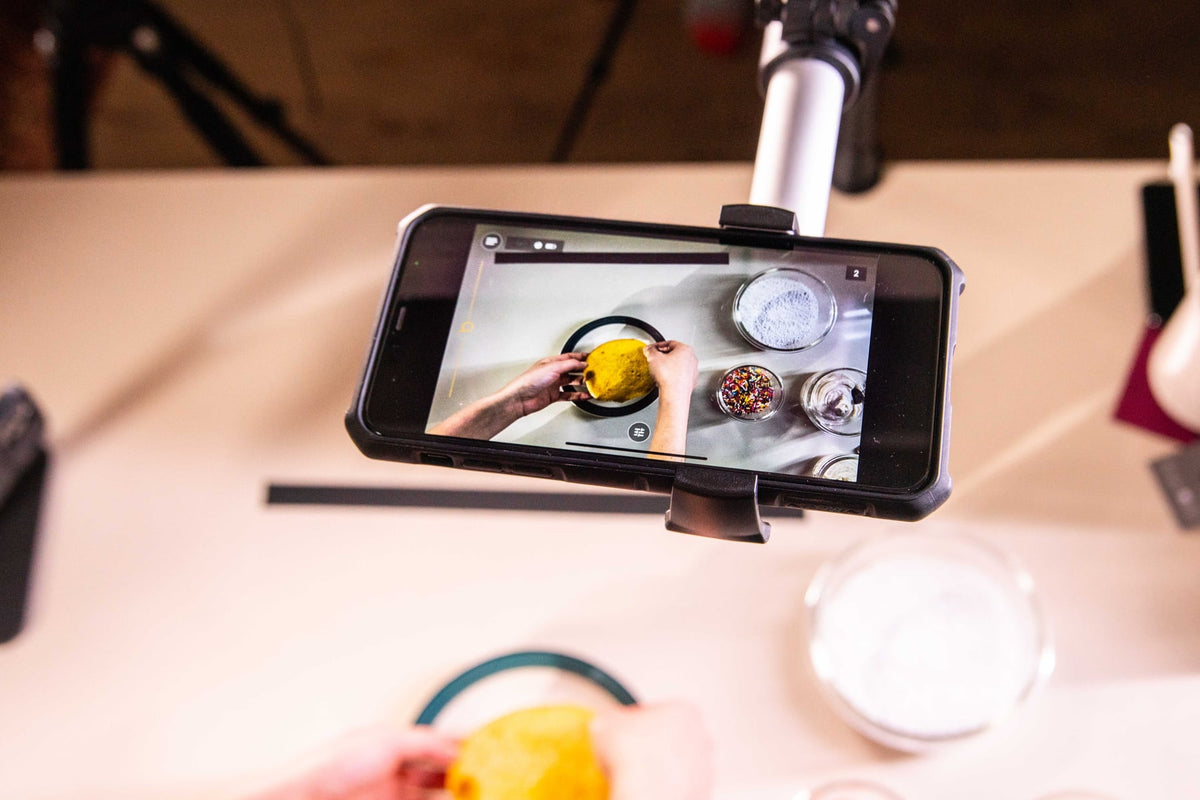
Overhead setups point the camera straight down at the desk surface. This is the standard configuration for product photography, flat-lay shots, craft and cooking demonstrations, and any tutorial where viewers need to see hands working on a surface. Reach and arm extension matter most here, since the camera has to clear whatever is on the desk without the arm or clamp entering the frame.
Front-facing setups position the camera at eye level, pointed across the desk toward the presenter. This works for video conferencing, podcast recording, online teaching, and product reviews where the creator is talking to camera. Here, height adjustment and a stable, low-vibration arm matter more than horizontal reach.
Many creators end up needing both angles across a single session, which is why adjustable, multi-position mounts are worth the extra cost over a fixed single-angle arm.
What to Verify Before You Buy
Specs on a product page only tell you so much. Confirm these details against your actual setup before ordering:
- Desk edge thickness and material. Clamps have a maximum opening width, and glass, thin laminate, or edges with raised trim can prevent a solid clamp seat. Measure your desk edge and check it against the clamp's stated range.
- Camera and lens weight, not just body weight. A DSLR body might weigh under 2 pounds, but a zoom lens can push the total well past what a lightweight arm is rated for. Weigh your full setup, including any lavalier mic or light attached to the same arm, and compare it to the mount's stated capacity.
- Reach and clearance. For overhead shots, measure the distance from the desk edge to the center of your intended frame. Confirm the arm or pole extends far enough without maxing out its range, since mounts lose rigidity near their extension limit.
- Thread size and adapter needs. Most mounts use a 1/4"-20 connection. Smartphones, tablets, and some action cameras need an additional clamp or adapter to use that same thread, so check what is included versus what you need to buy separately.
- Cable routing. If you are running HDMI, USB, or power to the camera, check whether the arm has any routing channel or clips. Cables left to dangle add drag and vibration exactly where you don't want it.
- How often you'll reposition or remove it. If the mount stays clamped in one spot permanently, rigidity matters more than quick-release convenience. If you're breaking the setup down daily, look for a mount with tool-free clamp adjustment.
Stability Features That Matter Most
Image stability comes down to a few mechanical factors, not marketing language.
Clamp quality is the foundation. A clamp that flexes or slips under the camera's weight will introduce drift over a long recording session, even if the arm itself is rigid. Heavy-duty clamps built specifically for desk edges outperform generic spring clamps repurposed for camera work.
Arm and pole material affects how much the setup flexes when bumped or when a heavier lens is attached. Aluminum and reinforced composite arms hold position better than thin steel tubing, especially at full extension.
Weight capacity headroom matters more than the stated maximum. A mount rated for 5 pounds will perform better with a 3-pound camera than one rated for exactly 3 pounds carrying that same load, because it isn't operating at its limit.
Joint and knuckle design determines how well the mount holds an angle over time. Look for reinforced joints rather than simple friction hinges, which can loosen with repeated repositioning.
Where Table Camera Mounts Get Used
The most common applications include:
- Product photography and flat-lay shots, where a fixed overhead angle keeps framing consistent across an entire catalog shoot.
- Live streaming and video conferencing, where a front-facing mount frees up desk space compared to a floor tripod pushed in close.
- Unboxing and review videos, which often require switching between an overhead shot for the product and a front-facing shot for commentary.
- Craft, cooking, and DIY tutorials, where viewers need a clear top-down view of hands working on a surface.
- Classroom and training content, where an overhead mount can capture handwriting, diagrams, or physical demonstrations without a document camera.
Across all of these, the value of the mount is consistency: once the arm is positioned and the clamp is tightened, the framing stays the same from one recording session to the next, which saves setup time and keeps a channel or course looking uniform.
Related iBOLT Mounting Options

iBOLT Stream-Cast Overhead Camera Rig Desk Mount for DSLR Cameras for Top Down and Front Facing Photography
A good fit for phone and camera setups used in recording, streaming, and overhead shots.

iBOLT Dual Tablet- Tripod Slider Bar
A good fit for phone and camera setups used in recording, streaming, and overhead shots.

iBOLT Stream-Cast Overhead Ceiling / Wall-Metal Multi-Angle Drill Base Mount for DSLR Cameras, Smartphones, Mini projectors
A good fit for phone and camera setups used in recording, streaming, and overhead shots.

Stream-Cast Stand Adjustable Overhead Phone Mount for Live Streaming
A good fit for phone and camera setups used in recording, streaming, and overhead shots.
FAQ
What is a table camera mount used for?
It holds a camera in a fixed overhead or front-facing position above or in front of a desk, for tasks like product photography, live streaming, tutorial recording, and video conferencing.
Will a table camera mount support a DSLR with a lens attached?
Many are built to handle DSLR and mirrorless setups, but always weigh your full camera and lens combination and compare it to the mount's stated weight capacity before buying.
How does a table camera mount attach to a desk?
Most use a C-clamp or similar clamping mechanism that grips the desk edge. Check the clamp's maximum opening width against your desk's edge thickness beforehand.
Can the same mount handle both overhead and front-facing shots?
Adjustable arms with multiple joints can typically be repositioned for either angle. Fixed single-position arms are usually built for one configuration only, so check the product description if you need both.
What mounting thread size do these use?
Most use a standard 1/4"-20 camera thread. Smartphones and tablets usually need an additional clamp adapter to connect to that same thread.
Do table camera mounts save desk space compared to a tripod?
Yes. Since the mount clamps to the desk edge itself, it eliminates the tripod's floor footprint and keeps the recording area clear for other equipment.

Leave a comment
This site is protected by hCaptcha and the hCaptcha Privacy Policy and Terms of Service apply.