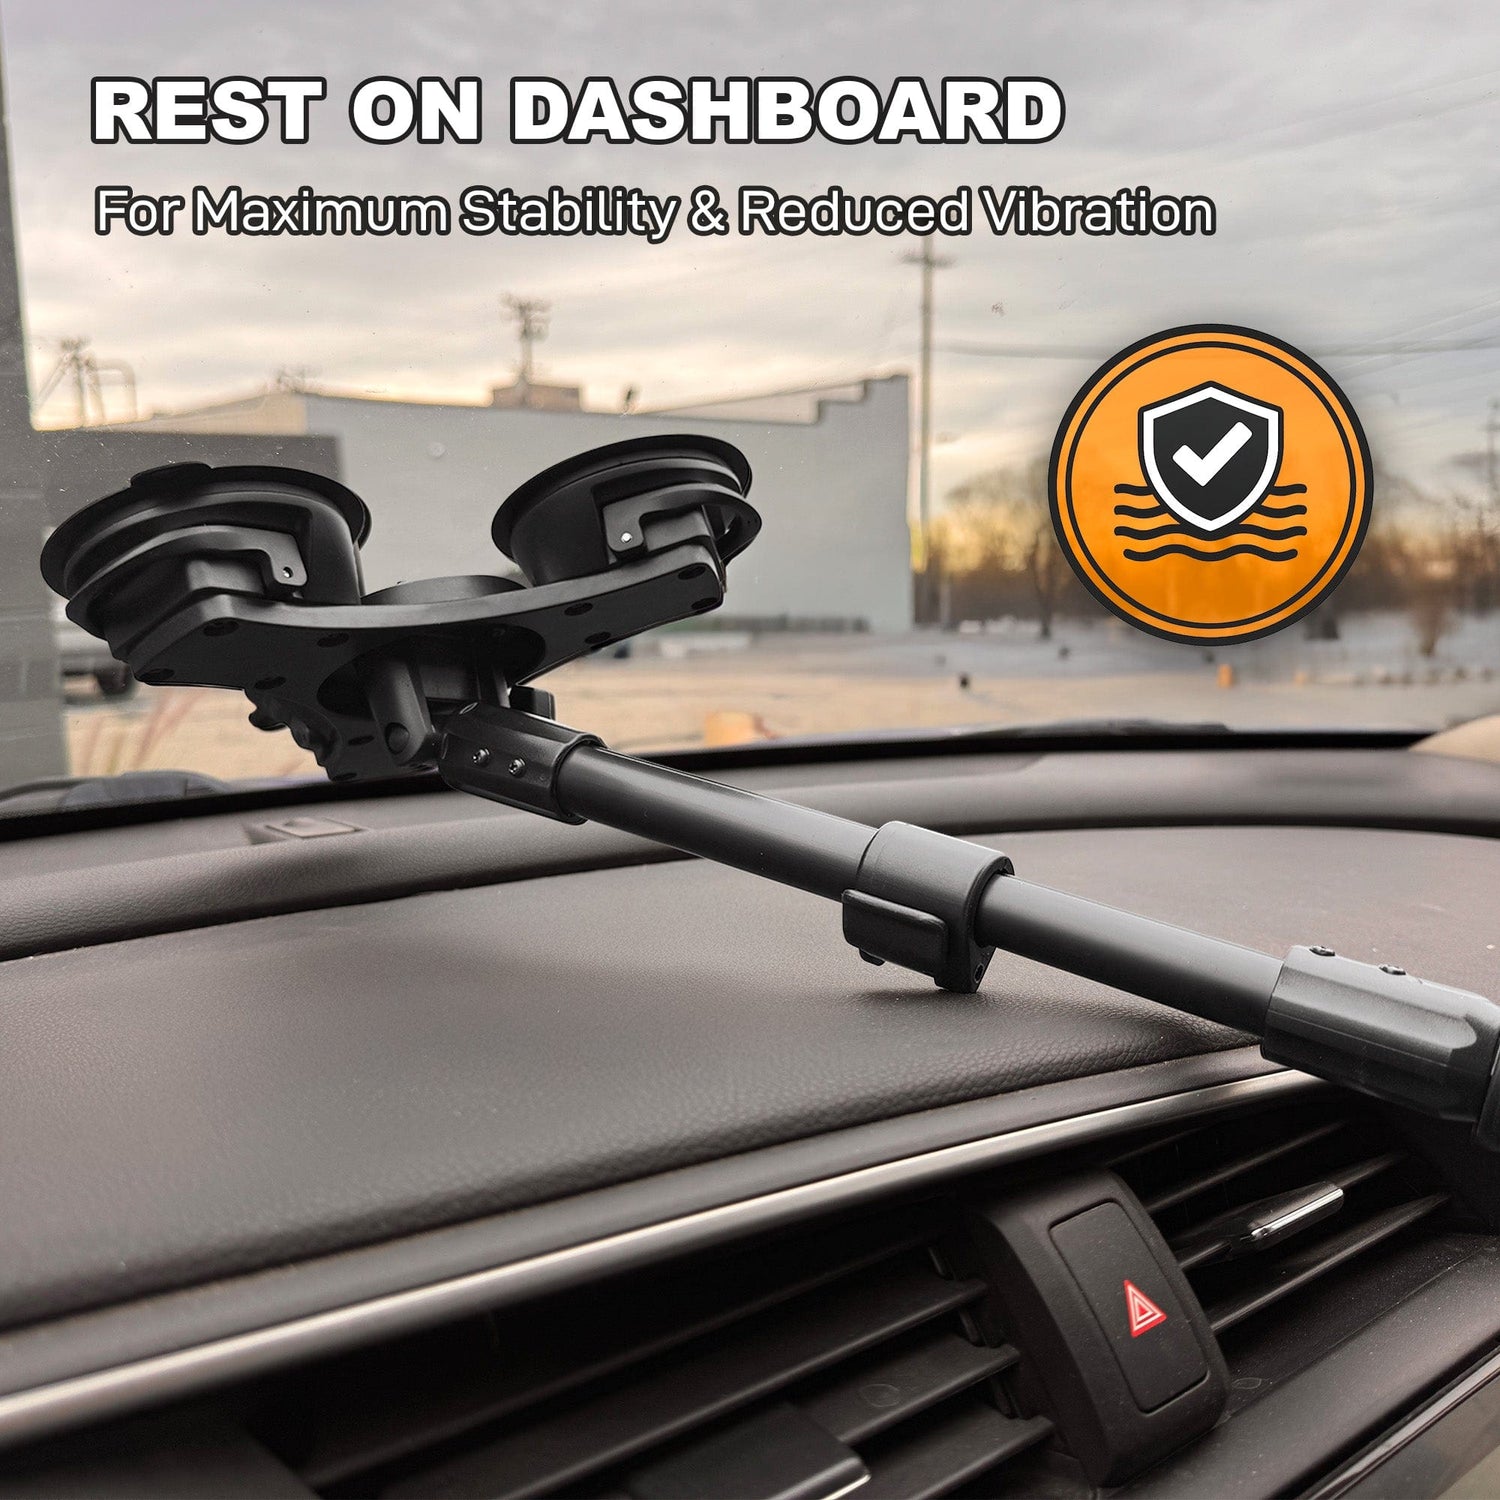
You know where the device needs to sit, but no boxed kit matches the installation. The tablet must reach around a forklift pillar. The restaurant counter cannot accept a suction base. The phone holder needs to connect to hardware already installed in a fleet vehicle. These are not unusual requests. They are combinations of a device, a surface, a working position, and a connection standard.
The iBOLT Mount Configurator helps turn those requirements into compatible mounting components. Instead of guessing from hundreds of parts, you work through the system layer by layer.
Gather Four Details Before You Start
The Configurator is most useful when you arrive with a clear description of the job. Record these four details first.
Device: Note the device model, dimensions, weight, case dimensions, charging port, and any buttons or cameras that must remain clear. A holder fits the physical device, not just the screen-size label.
Mounting surface: Identify whether the system will attach to glass, a drilled counter, dashboard, seat rail, wall, post, rail, forklift pillar, or another structure. Check that the surface can support the completed mount.
Reach and position: Measure the distance from the attachment point to the desired device position. Consider the operator's line of sight, controls, passenger space, and cable route.
Security and access: Decide whether the device must lock, release quickly, rotate between users, or remain removable at the end of a shift.
These details prevent the most common mistake in custom mounting: choosing a holder first and discovering later that there is no suitable place to attach it.
Build From the Surface to the Device
Begin with the base. The base solves the attachment problem, so it should match the real surface and working conditions. A clamp can preserve a no-drill installation on a compatible post or rail. A fixed AMPS drill base can suit a permanent counter or vehicle installation. A purpose-built pillar bracket can fit warehouse equipment where a consumer dashboard base has no useful surface.
The iBOLT Clamp Base for 4-Hole AMPS Mounts illustrates this layer. Its job is to provide a clamp attachment and an AMPS interface for the next component.

iBOLT Clamp Base for 4-Hole AMPS Mounts - $24.95
Next, select the arm. Use the shortest arm that reaches the required position and allows comfortable adjustment. More reach also creates more force at the base, so arm material, ball size, device weight, and base strength must be considered together.
Then choose the holder. Confirm the full device and case dimensions, not only the model name. For a shared POS tablet, a locking holder may matter more than quick removal. For a scanner, repeated one-handed removal and return may be central to the job.
Check Every Connection and Adapter
Before completing a configuration, trace every interface in order. A typical path might be:
clamp base -> AMPS adapter -> ball -> double socket arm -> ball -> holder
Ball diameters must match the sockets. Four-hole AMPS and VESA are plate patterns, not ball sizes. A system may use both a plate pattern and a ball connection, so read the entire product description.
The iBOLT 25mm Metal AMPS Adapter Plate provides a 25mm ball connection for an AMPS-pattern component. It is a useful choice when the next arm uses industry-standard 25mm, or 1-inch B-size, sockets.

iBOLT 25mm / 1 inch Metal AMPS Adapter Plate - $12.95
If two parts use different ball diameters, add only an adapter that names those exact sizes. The iBOLT 22mm to 25mm Composite Ball Adapter connects 22mm and 25mm components. It does not convert 25mm to 38mm or replace an AMPS plate.

iBOLT 22mm to 25mm Composite Ball Adapter - $13.95
For a detailed reference, review ball mount sizes and cross-compatibility before finalizing mixed hardware. Warehouse teams should also check the forklift mount engineering guide and forklift scanner workflow guide before selecting device-side hardware.
Review the Complete Installation
A group of compatible parts can still be wrong for the job if the completed installation blocks a control, places too much force on the base, or covers the charging port. Review the configuration as one assembly.
Check device clearance at every adjustment angle. Confirm that cables can reach without wrapping around moving joints. Make sure locking mechanisms and release buttons remain accessible. Verify that the user can see the screen without moving it into a windshield view, machine control, airbag zone, or passenger area.
For repeat installations, build and test one complete setup before deploying the same configuration across a fleet or facility. Record the selected components as an approved bill of materials. That gives technicians a consistent installation and makes later replacement easier.
The modular structure also leaves room for future changes. If the attachment surface and arm still work when the device changes, the company may only need a different holder. The article on why modular systems beat one-piece mounts explains that lifecycle advantage.
The iBOLT TabDock AMPS is one example of a device holder with a defined AMPS connection. It can be incorporated where the selected base and adapter provide the correct AMPS interface.

iBOLT TabDock AMPS - $29.95
Frequently Asked Questions
What information do I need for the Mount Configurator?
Bring the device and case dimensions, mounting surface, required reach, and security needs. Existing ball sizes or AMPS and VESA patterns are also important when connecting to installed hardware.
Should I start with the base or holder?
Confirm the device dimensions first, then build from the mounting surface. Choosing the base early ensures the system can attach safely before you select reach and holder components.
Can the Configurator help with an existing mount?
Yes, if you can identify the existing connection. Record the ball diameter, hole pattern, and model information so the new component or adapter can be matched correctly.
Does an AMPS plate fit every ball mount?
No. AMPS describes a hole pattern. You still need an adapter that provides the correct ball diameter or other connection for the arm and holder.
What if I am configuring mounts for many vehicles?
Test one complete installation in the target vehicle first. Once its position, clearance, charging, and device access are confirmed, save the component list as the standard configuration for that vehicle type.
Start with the device, surface, reach, and security requirements, then explore the iBOLT Mount Configurator to build the parts around the actual job.



Leave a comment
This site is protected by hCaptcha and the hCaptcha Privacy Policy and Terms of Service apply.